

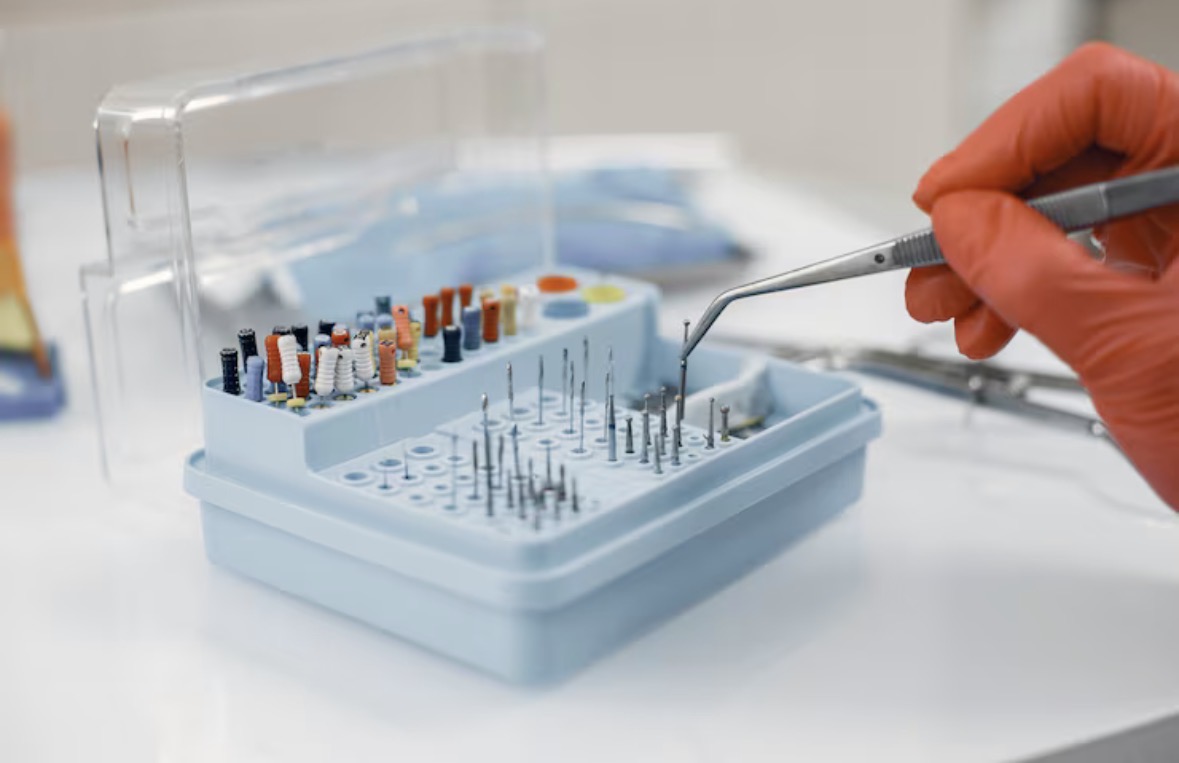
A bur drawer can appear fully stocked and still leave the clinical team unprepared. The problem is often not quantity. Burs may be mixed by shape, shank, material, or condition without a clear connection to the procedures performed in the practice.
Organizing burs by clinical use helps the team prepare trays, identify missing instruments, and remove worn burs before an appointment begins.
1. List the Procedures Performed
List the procedures that regularly require rotary instruments. The categories will differ among general, restorative, endodontic, orthodontic, surgical, and prosthetic practices.
A practice may create groups for:
- Caries removal
- Crown preparation
- Crown removal
- Endodontic access
- Composite finishing
- Interproximal finishing
- Occlusal adjustment
- Zirconia adjustment
- Acrylic adjustment
- Orthodontic adhesive removal
- Surgical bone cutting
- Implant-related procedures
Do not create a category only because a bur is available. Each group should reflect work the practice actually performs.
2. Separate Burs by Handpiece Connection
A bur with the correct head cannot be used if its shank does not fit the intended handpiece.
Common shank groups include:
- Friction-grip
- Right-angle latch
- Straight handpiece
- Laboratory handpiece
Store or label these groups separately. If burs with different shanks share one organizer, the clinical team may select the wrong instrument during setup.
The procedure card should identify both the bur and required handpiece.
3. Record Shape and Size
Shape determines where and how the cutting surface contacts the material. Round, pear, inverted cone, fissure, flame, football, wheel, and tapered designs serve different purposes.
Size also matters. Two burs with the same general shape may produce different preparation dimensions or access.
The practice inventory should record:
- Shape
- Head diameter
- Head length
- Overall length
- Shank type
- Grit or blade design
- Manufacturer’s reference
Avoid labels such as “small flame” or “large round” when a specific product reference is available.
4. Match the Bur to the Material
Enamel, dentin, metal, ceramic, zirconia, composite, acrylic, and bone do not place the same demands on a rotary instrument.
A dependable source of great dental Burs should allow clinicians to compare bur types for restorative, endodontic, orthodontic, laboratory, finishing, polishing, and other procedure-specific uses.
The clinician must still select each bur according to its intended material, handpiece, speed range, cooling requirements, and instructions for use.
Using a bur outside its intended application may reduce cutting control, increase heat, damage the restoration, or shorten the instrument’s working life.
5. Create Procedure Sets
Once the practice identifies the required burs, group them into repeatable procedure sets.
A crown-preparation set may contain instruments for:
- Initial depth orientation
- Occlusal reduction
- Axial reduction
- Interproximal access
- Margin formation
- Finishing
An endodontic-access set may use a different sequence for initial penetration, chamber access, refinement, and removal of restorative material.
The dentist should approve each set. Assistants can then prepare the same sequence for similar procedures without choosing burs independently.
6. Make a Setup Card
A setup card gives the team a visible reference for tray preparation.
Field
Information
Procedure
Approved clinical procedure
Bur sequence
Order of use
Product reference
Exact item
Shank
FG, RA, straight, or laboratory
Handpiece
Required handpiece
Backup
Approved replacement
Notes
Speed, cooling, or material limits
Photographs can help identify position within an organizer, but the written product reference should remain part of the card.
Review setup cards when materials, handpieces, or clinical protocols change.
7. Inspect Burs Before Sterilization and Use
A bur should not remain in circulation only because it is still present in the organizer.
Check for:
- Bent shanks
- Damaged heads
- Missing blades or abrasive particles
- Corrosion
- Clogged cutting surfaces
- Discoloration
- Packaging damage for sterile products
- Unclear identification
Follow the manufacturer’s cleaning, disinfection, sterilization, reuse, and replacement instructions. Single-use products should not be processed for reuse.
A worn bur may require more pressure or cutting time. Presence in inventory does not mean it remains suitable for treatment.
8. Set Reorder Levels by Procedure
Counting every bur as one general category does not show whether the practice can complete its scheduled cases.
Set minimum quantities for each procedure set. A high stock of finishing burs does not replace a missing crown-removal or endodontic-access instrument.
The reorder list should include:
- Product reference
- Current usable quantity
- Minimum quantity
- Scheduled case demand
- Quantity ordered
- Order date
- Expected delivery
Case-specific burs should be separated or reserved so they are not used before the scheduled appointment.
Keep the System Clinically Useful
A procedure-based system connects ordering, tray setup, instrument inspection, and replacement. It also helps the practice identify which burs are used regularly and which remain in storage without a defined purpose.
The system should stay simple enough for the clinical team to follow. Clear labels, approved setup cards, and regular inspection provide more value than a complex inventory file that no one updates.